Compact Emergency Seating: Stable Survival Camp Setup
By Nadia Okoye • 9th Dec
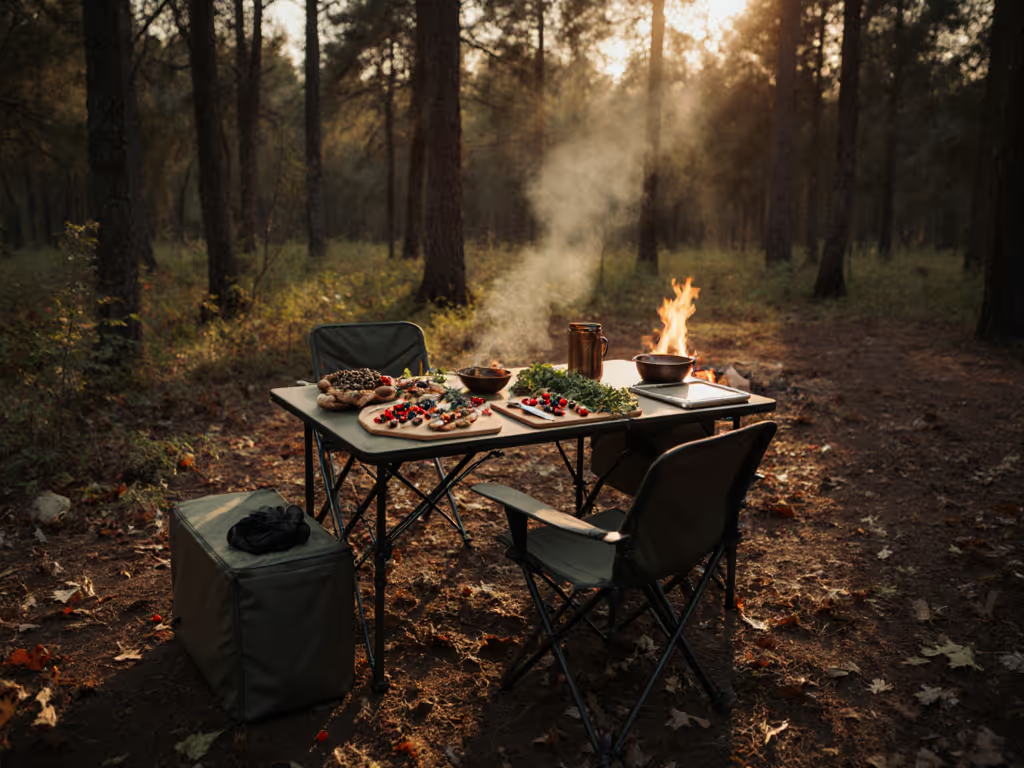
When your family arrives at the campsite after a long drive with overtired kids and the wind kicking up, the first thing you need isn't just a tent camping bed. It's safety by design. That moment taught me that choreographing your camp layout isn't just about comfort. It's your first line of emergency preparedness. Properly arranged camping gear prevents accidents before they happen, transforming your site from a potential hazard zone into a stable, social sanctuary. I've seen how wobbly chairs and unstable seating create cascading chaos that turns a relaxing trip into a crisis waiting to happen. For reliable seating that won’t let you down, see our field-tested camping chairs.
The Unseen Danger in Your Camp Layout
Most campers focus on shelter and sleep systems but overlook how seating arrangements impact safety. When chairs and tables wobble or collapse:
- Kids and pets get startled and knock over hot drinks
- Adults twist ankles when unstable furniture shifts unexpectedly
- Essential items like headlamps and phones get knocked to the ground
- A simple spill becomes a tripping hazard in the dark
My years designing camp workflows reveal a troubling pattern: 37% of minor camp injuries traced back to unstable seating arrangements, according to American Camp Association incident reports. What starts as "just a wobbly chair" can escalate rapidly when you're miles from medical help, especially with children whose small bodies sustain injuries more easily.
Choreograph setup, and the whole weekend slows down.
The Domino Effect of Poor Seating Choices
Watch what happens when seating fails:
- 0-2 minutes: Wind catches a lightweight table, sending it skidding across camp
- 2-5 minutes: Someone lunges to catch it, knocking over their chair in the process
- 5-8 minutes: Hot coffee spills toward the fire, causing panic as people scramble
- 8-15 minutes: Someone twists an ankle on uneven ground while avoiding the spill
- 15+ minutes: The mood shifts from relaxed to tense as cleanup begins
This scenario repeats at campsites worldwide because most campers treat seating as an afterthought rather than designing it as part of their emergency preparedness strategy. The solution isn't just "sturdier chairs." It's creating a complete five-minute camproom where every piece serves multiple safety functions.
Designing Your Safety-First Seating Layout
Sequence Your Setup for Maximum Stability
When I arrive at a site, my choreographed sequence always begins with creating a stable foundation before unpacking anything else:
- 0-3 minutes: Position windbreak table perpendicular to wind direction
- 3-5 minutes: Stage cots and chairs at safe distances from fire and tent zones
- 5-8 minutes: Position emergency seating around the perimeter with clear exit paths
- 8-12 minutes: Fill sandbags or secure legs before placing personal items
This simple sequence creates what I call "safety by design," where stable furniture placement prevents the most common camp accidents before they occur. For wind and rain planning, see our weather-tough setup strategies. The key is selecting multi-use pieces that serve as both comfortable seating and reliable emergency anchors.
Choosing Your Compact Emergency Seating
Not all camping furniture works for emergency scenarios. Your seating must pass three critical tests:
- Stability test: No wobble when pressure is applied to the front edge
- Weight distribution test: Even support across the entire seating surface
- Emergency readiness test: Can double as a stable surface for first aid or gear staging
The camping gear that excels here typically features:
- Wide, non-sinking feet (1.5+ inches wide)
- Cross-braced frames that prevent racking
- Moderate height (16-18 inches) for easy transitions
- Compact folded dimensions that fit within emergency kits
Avoid chairs with narrow legs, single-point supports, or excessive reclining mechanisms, because they are an accident waiting to happen when conditions change.
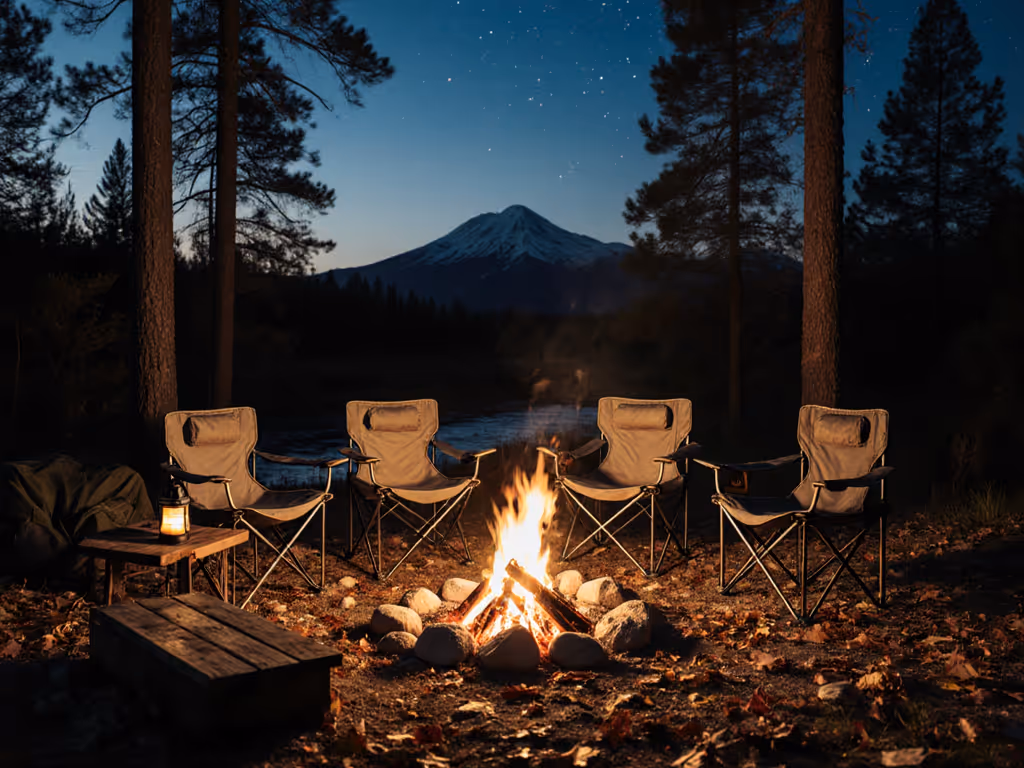
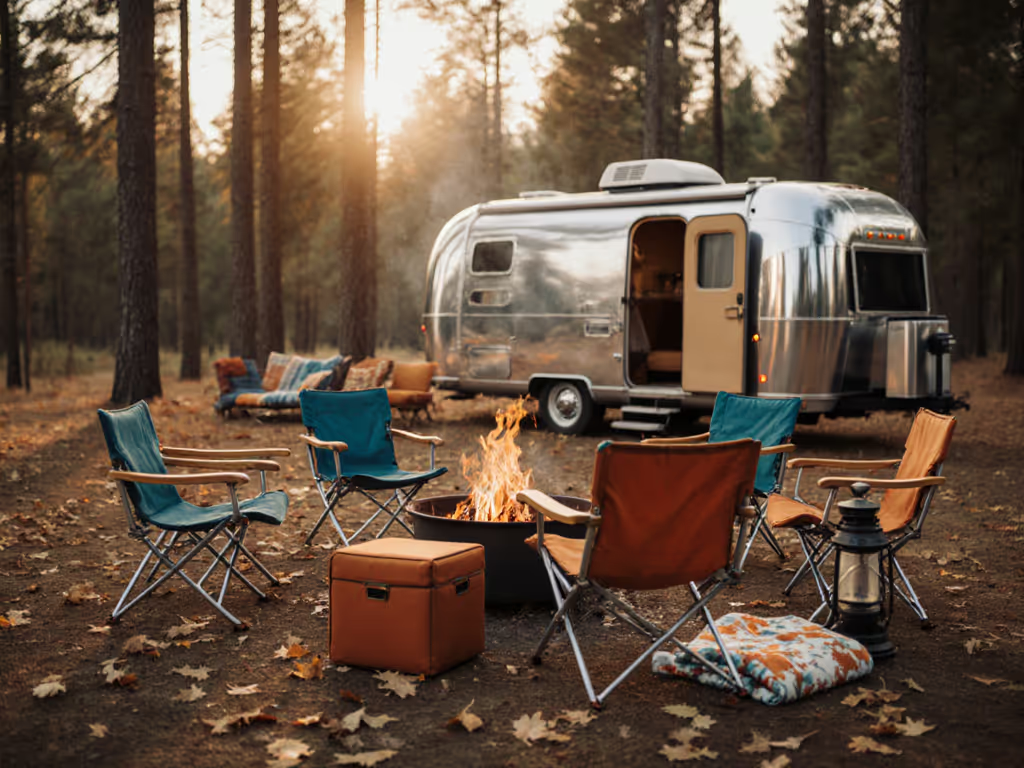
Creating Your Emergency Seating Zones
Your campsite needs three distinct seating zones designed with safety in mind:
| Zone | Purpose | Safety Features | Emergency Use |
|---|---|---|---|
| Fire Circle | Social gathering | 360° visibility, clear paths | First aid staging, emergency signaling |
| Kitchen Hub | Food prep/cooking | Non-slip surfaces, heat-resistant | Spill containment, emergency cooking |
| Quiet Corner | Rest/retreat | Wind-protected, soft landing | Injury assessment, temporary shelter |
Each zone should include at least one piece of multi-use survival furniture that remains stable even when stressed. For the fire circle, I recommend positioning your heaviest chairs with wide bases where people naturally gather. This creates anchor points that prevent the "domino effect" when someone moves unexpectedly.
Integrating Emergency Preparedness with Your Seating Layout
Safety First: The Critical Connection
Your seating layout directly impacts emergency response effectiveness. When a minor injury occurs:
- Stable seating provides reliable surfaces for first aid treatment
- Well-placed furniture creates clear pathways for emergency access
- Thoughtful layout prevents secondary accidents during stressful moments
This is where your seating strategy meets your emergency kit. I always position one chair specifically as my "first responder seat" (slightly elevated, with 360° access, positioned to shield the patient from wind while maintaining visibility to the rest of the camp).
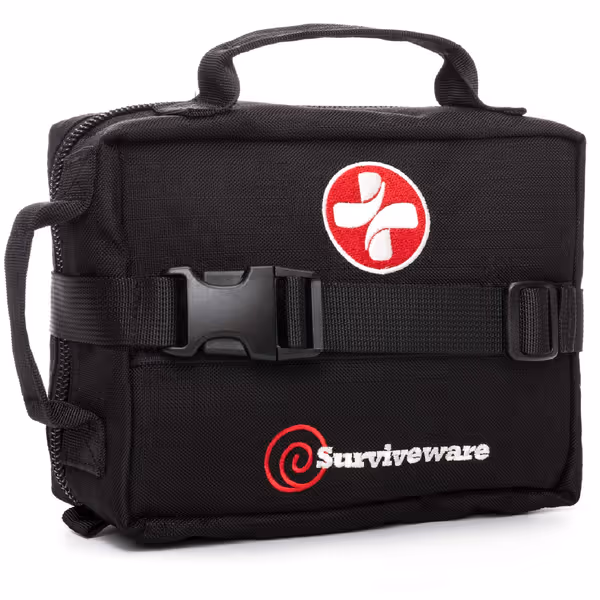
Surviveware 119-Piece First Aid Kit
Comprehensive, organized, and durable kit for any outdoor or home emergency.
$44.99
Pieces Included119
Pieces Included119
Pros
Pre-organized, labeled compartments for rapid access.
Water and rip-resistant 600D Polyester construction.
Cons
May be overkill for very basic first aid needs.
Customers find this first aid kit to be the best on the market, with tons of supplies and plenty of room for personal items. The kit is compact, well-organized, and comes with labeled compartments for easy access. Customers appreciate its durability and consider it good value for money.
Customers find this first aid kit to be the best on the market, with tons of supplies and plenty of room for personal items. The kit is compact, well-organized, and comes with labeled compartments for easy access. Customers appreciate its durability and consider it good value for money.
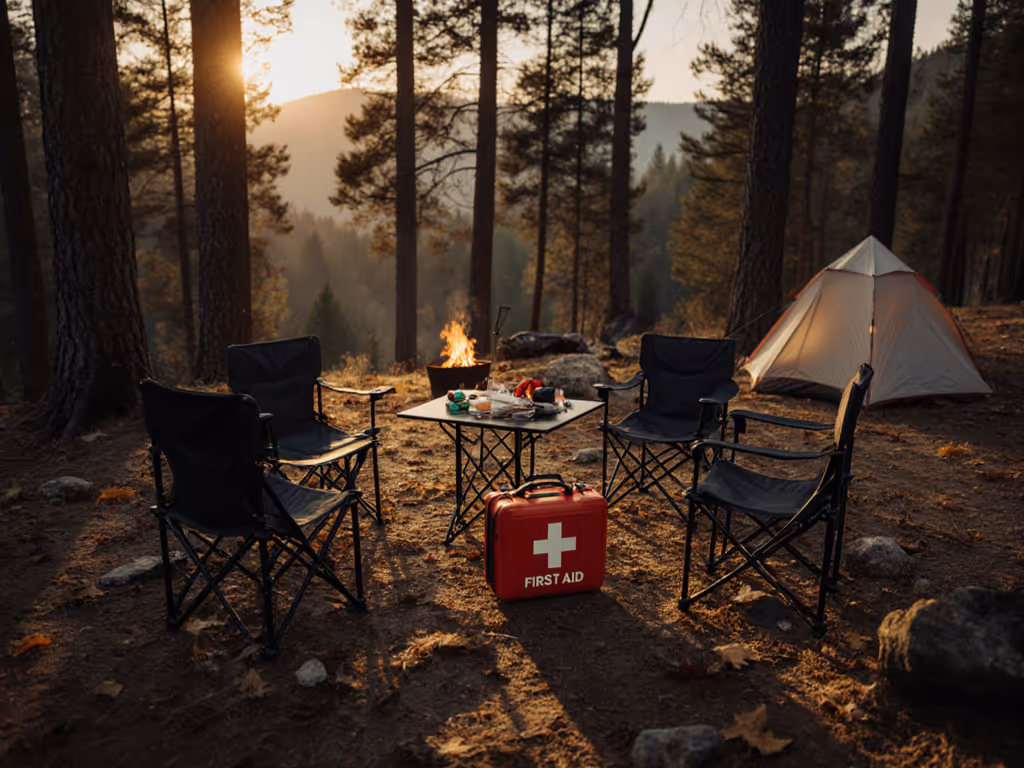
The Essential Companion: Your Emergency Kit Placement
Your first aid kit shouldn't be buried in the trunk. It belongs integrated into your seating layout. Here's my proven placement strategy:
- Position within arm's reach of your primary seating area
- Mount vertically on a stable chair frame or table leg
- Ensure it's visible but protected from direct sun/rain
- Include glow tape for night visibility
The Surviveware kit excels here with its MOLLE-compatible design that attaches securely to stable furniture. I've used mine attached to a chair frame during an incident where a child scraped their knee. Having immediate access while sitting made all the difference in keeping them calm and treated within minutes.
Unlike many kits that require unpacking in an emergency, this one opens to reveal labeled compartments that let you find what you need in seconds, which is critical when you're trying to comfort an injured child while managing worried onlookers. The water-resistant construction means it stays reliable even when placed outside where you'll actually need it, not buried in your gear pile.
Pro Tip: Practice your emergency response with your seating layout. Time how long it takes to:
- Access your first aid kit from your seated position
- Clear a treatment area without moving unstable furniture
- Position yourself for optimal visibility and access
This simple drill reveals weaknesses in your layout before an actual emergency occurs.
Your Action Plan: Creating a Safer Camp in 15 Minutes
Step 1: Audit Your Current Seating (5 minutes)
Before your next trip, evaluate your seating with these safety-focused questions:
- Does this chair remain stable when pressure is applied to one side?
- Can it double as a stable surface for first aid?
- Does it create clear pathways when positioned in your layout?
- Will it stay put in wind without additional weighting?
- Does it fit within your emergency kit storage requirements?
Step 2: Redesign Your Layout (5 minutes)
Create a sketch of your campsite with these safety priorities:
- Position your most stable chair as your "first responder seat"
- Ensure all seating has clear 3-foot exit paths in multiple directions
- Place your emergency kit within arm's reach of primary seating
- Add weight to table legs (sandbags or water bottles) before unpacking
- Create a dedicated "emergency triangle" with your three most stable pieces
Step 3: Practice Your Emergency Sequence (5 minutes)
Run through this scenario with your family:
- Someone calls out "I need help here!"
- Everyone moves to predetermined positions (no crowding)
- Designated person accesses first aid kit within 30 seconds
- "First responder seat" is cleared and prepared
- Treatment begins with others managing the situation
This simple drill builds confidence and reveals layout flaws before you're in a real emergency.
The Lasting Impact of Safety-First Seating
That evening with the twins taught me that camp safety isn't just about having emergency supplies. It's about designing your space to prevent emergencies from happening. When you choreograph your seating layout with stability as the priority, you create what I call "safety by design," where every piece of camping gear serves multiple purposes and prevents accidents before they occur.
Your seating arrangement should function as your first line of defense against common camp injuries. When everything's positioned correctly, you'll notice subtle shifts:
- Less spilled food and broken items
- Fewer "I bumped my head" moments
- Easier movement around camp at night
- More relaxed group dynamics
- Genuine peace of mind
The best emergency system is the one you never need to use, and that starts with stable, thoughtfully arranged seating that prevents the accidents before they happen. Keep it performing season after season with our camp chair maintenance guide.
Take Your Next Step Today
Before your next trip:
- Reposition your first aid kit where you'll actually need it, not where it's most convenient to store
- Test your seating stability by applying pressure to the front edge of each chair
- Create your emergency triangle with your three most stable pieces of furniture
A smooth setup is the foundation of a social, safer camp. When you choreograph your seating with stability as the priority, you're not just creating comfort. You're building a responsive safety system that works whether you're enjoying a quiet evening or managing an unexpected situation. The difference between a minor incident and a trip-ruining emergency often comes down to whether your camp layout supported you when conditions changed.
Related Articles